What Gets Tested
This video from Driving Test Australia covers all the manoeuvres you may face, with chapters for each one:
During your driving test, the examiner will ask you to perform one or more set manoeuvres, low-speed tasks that test your vehicle control, spatial awareness, and (just as importantly) your observation. Every state tests reverse parallel parking and three-point turns. Beyond that, it varies.
| Manoeuvre | NSW | VIC | QLD | WA | SA | TAS | ACT | NT |
|---|---|---|---|---|---|---|---|---|
| Reverse parallel park | Yes | Yes | Yes | Yes | Yes | Yes | Yes | Yes |
| Three-point turn | Yes | Yes | Yes | Yes | Yes | Yes | Yes | Yes |
| U-turn | Sometimes | Sometimes | Sometimes | Sometimes | Sometimes | Sometimes | Sometimes | Sometimes |
| Hill start | Sometimes | Rarely | Sometimes | Sometimes | Sometimes | Sometimes | Sometimes | Rarely |
| Angle parking (reverse) | No | No | Yes | Yes | No | No | No | No |
In Queensland, the examiner picks 3 manoeuvres from a list of 5, you won't know which ones until they ask.
The biggest misconception about manoeuvres: People spend hours perfecting their parking but forget that observation is scored separately. You can park perfectly and still fail if you don't check your mirrors and blind spots throughout. The examiner is watching your eyes and head, not just your wheels.
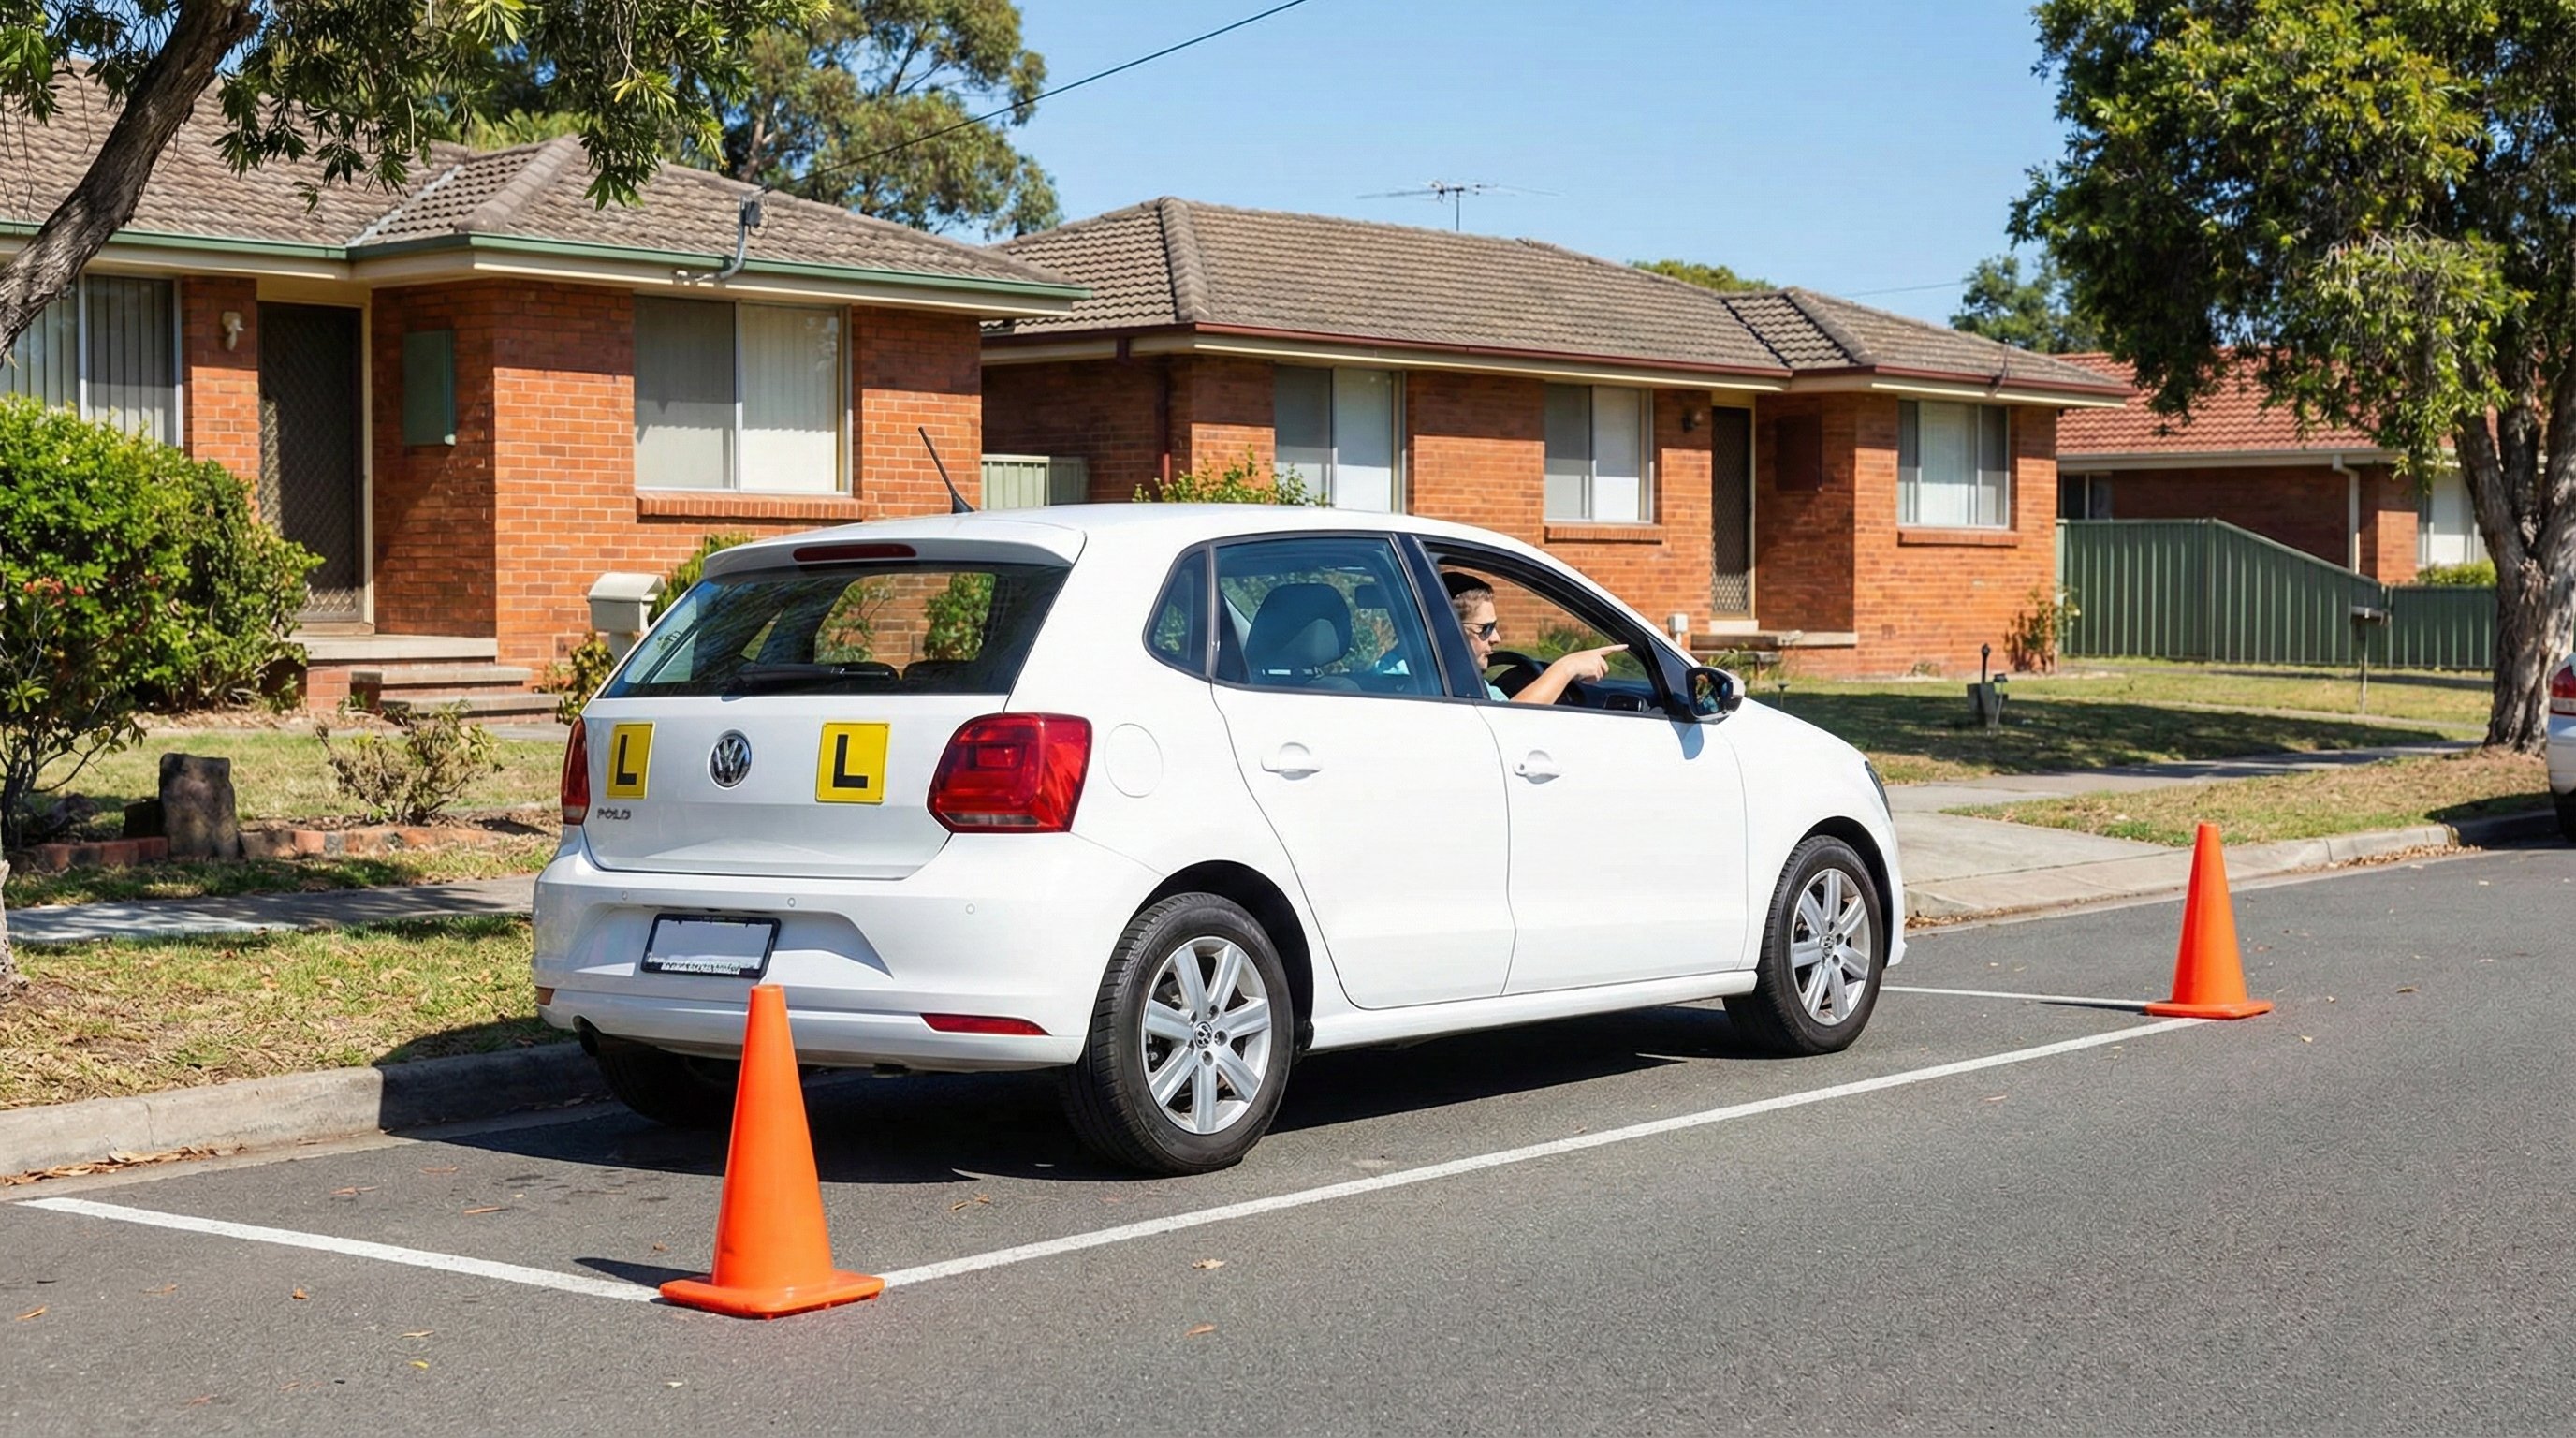
1. Reverse Parallel Parking
This is the manoeuvre most people worry about, and it's tested in every state. The good news: there's no time limit, and you're allowed to adjust.
Step by Step
- Pull up alongside the front vehicle, about half a metre to one metre away, with your rear roughly aligned to its rear bumper.
- Stop. Select reverse. Check interior mirror, both exterior mirrors, and head check left (towards the kerb).
- Reverse slowly. When your rear wheels reach the front vehicle's back corner, steer sharply left (turning the wheel towards the kerb).
- Keep checking. Watch your mirrors and look over your left shoulder. Your front end will swing out, make sure it clears the vehicle ahead.
- At about 45 degrees, once your front has cleared the vehicle ahead, straighten the wheel.
- Continue reversing straight back.
- When your front is level with the rear of the vehicle ahead, steer sharply right to bring the front in towards the kerb.
- Straighten up parallel to the kerb.
How Close to the Kerb?
This varies by state. In SA, you need to finish within 30 cm of the kerb. In NSW, up to 50 cm is acceptable. Anywhere under 30 cm is ideal across all states. Finishing more than 50 cm from the kerb is a fault everywhere.
Common Mistakes
- Hitting or mounting the kerb: go slower and use your left mirror to watch the kerb as you reverse
- Finishing too far from the kerb: usually means you didn't steer sharply enough in the final stage
- Missing observation: the examiner expects mirror checks and head checks throughout, not just at the start
- Rushing: there's genuinely no time pressure. The slower you go, the more control you have
Tip: If you misjudge it, pull forward and adjust. One correction is perfectly fine and won't cost you the test. Trying to force a bad angle will.
Watch: Reverse Parallel Parking Technique
This video from an Australian driving school walks through the technique with both real driving and animated overhead views:
And this one from carsales.com.au shows the technique from inside the car:
2. Three-Point Turn
A three-point turn reverses your direction on a narrow road using three movements: forward, reverse, forward.
Step by Step
- Check mirrors and head check right. Signal right.
- Move forward slowly, steering fully right towards the opposite kerb.
- Stop before the kerb: do not mount it.
- Check all mirrors and both blind spots. Select reverse.
- Steer fully left and reverse slowly towards the kerb behind you.
- Stop before the kerb.
- Check mirrors and head check right. Select drive.
- Move forward, straightening the wheel, and drive off in the new direction.
Common Mistakes
- Mounting the kerb on either side, stop a tyre-width short of the kerb each time
- Forgetting observation between movements: you need to check for traffic before each phase (forward, reverse, forward), not just at the start
- Needing more than three movements: if the road is narrow and you need a five-point turn, that's a minor fault but not a fail. It's better than mounting the kerb
- Stalling (manual vehicles), stay calm, apply the handbrake, restart the engine, and continue
Tip: Turn the wheel quickly while moving slowly. At very low speed, you need more steering input to change direction. Get the wheel fully turned before you start each movement, not halfway through.
3. U-Turn
A U-turn is a single sweeping movement, no reversing. You need a wider road than a three-point turn.
Step by Step
- Check mirrors and head check both directions. Signal right.
- Position your car towards the right of your lane (or the centre line).
- Check for traffic in both directions, you need a clear gap in both.
- Steer fully right and move forward at low speed.
- Complete the turn smoothly in one movement.
- Straighten up and continue driving.
When You Can't Do One
You can't do a U-turn:
- Where there's a "No U-turn" sign
- At traffic lights without a "U-turn permitted" sign (in some states)
- Across a continuous centre line (double or single)
- Where you can't see approaching traffic for a safe distance
If the examiner asks for a U-turn and you spot a "No U-turn" sign, tell them. They may be testing whether you notice it.
Common Mistakes
- Attempting a U-turn where prohibited
- Not checking far enough in both directions before committing
- Turning too wide and crossing into the wrong lane or mounting the opposite kerb
4. Hill Start
A hill start tests whether you can move off on a slope without rolling backwards (uphill) or forwards (downhill).
Uphill: Manual
- Handbrake on. Foot on clutch and brake. Select first gear.
- Check mirrors and head check right.
- Bring the clutch to the bite point, you'll feel the engine note drop slightly and the car begin to strain against the handbrake.
- Release the handbrake while holding the clutch steady.
- Gently accelerate and slowly release the clutch the rest of the way.
Uphill: Automatic
- Foot firmly on the brake.
- Check mirrors and head check.
- Release the handbrake (if applied) while keeping your foot on the brake.
- Smoothly transfer from brake to accelerator. Some roll-back is normal in an auto, keep it minimal.
How Much Roll-Back Is Allowed?
A small amount (under 30 cm) is usually a minor fault. Rolling back more than 50 cm is a significant error. Rolling back into a vehicle behind you is an immediate fail.
What If You Stall?
Don't panic. Apply the handbrake immediately so you don't roll. Restart the engine, take a breath, and try again. Stalling once isn't an automatic fail, it's how you recover that matters.
5. Angle Parking (Reverse)
Tested mainly in Queensland and Western Australia. You reverse into an angled parking bay.
Step by Step
- Drive past the empty bay and stop about one car length past it, roughly 1 to 1.5 metres away from the row of parked cars.
- Check all mirrors. Select reverse.
- Head check over your left shoulder towards the bay.
- Reverse slowly, steering left to angle into the bay.
- Use your mirrors and look over your shoulder to centre the car between the lines.
- Straighten the wheels and stop when fully within the bay.
Common Mistakes
- Finishing crooked or too close to one side
- Crossing the bay lines with your tyres
- Not checking mirrors and blind spots throughout the manoeuvre
What Examiners Actually Score
Manoeuvres are assessed on five areas, and they're weighted differently than most people expect:
| Area | What They Watch For |
|---|---|
| Observation | Did you check mirrors and blind spots before and during? This is usually weighted highest. |
| Control | Smooth, steady speed control. No sudden movements. |
| Accuracy | Did you end up in the right spot? Close to the kerb, between the lines, etc. |
| Safety | Would this have been safe in real conditions? No danger to other road users. |
| Efficiency | Completed in a reasonable number of movements. One correction is fine. |
The most common reason to fail a manoeuvre isn't bad parking, it's missing the observation. You can be slightly off the kerb and still pass. You can't skip head checks and pass.
General Tips
Go slowly. There's no time limit on any manoeuvre. Moving slowly gives you more control and more time to check your surroundings. The examiner would rather see you take 30 seconds on a reverse park than rush it in 10.
You can adjust. If your first attempt at a reverse park isn't working, pull forward and have another go. One correction is expected and shows good judgement. Trying to force a bad angle shows poor judgement.
Don't panic after a minor mistake. Touching the kerb, needing an extra movement, or finishing slightly wide are minor faults, not automatic fails. Stay calm, correct if you can, and keep driving well. Your reaction to a mistake matters more than the mistake itself.
Practise on the test routes. Drive near your test centre and find the streets and car parks the examiners typically use for manoeuvres. AUDrive has GPS practice routes for test centres across Australia that include these common test areas.
Frequently Asked Questions
Which manoeuvres are tested in every state?
Reverse parallel parking and three-point turns are tested in every state. U-turns and hill starts appear sometimes. Angle parking (reverse) is tested in QLD and WA only.
How close to the kerb do I need to finish when parallel parking?
It varies by state. SA, QLD, and WA require within 30 cm. VIC expects 30 to 50 cm. NSW allows up to 50 cm. Finishing more than 50 cm out is a fault everywhere.
Can I adjust my parking if I get it wrong?
Yes. One correction (pulling forward and re-angling) is perfectly fine and will not fail you. In QLD, more than three adjustments can fail the manoeuvre.
What is the most common reason to fail a manoeuvre?
Missing observation checks, not parking accuracy. You can be slightly off the kerb and still pass. You cannot skip head checks and mirrors and pass.
Is there a time limit on manoeuvres?
No. There is no time limit on any manoeuvre. The slower you go, the more control you have and the more time you have to check your surroundings.
Related Guides
- Head Check and Mirror Technique Guide: Observation during manoeuvres is scored more heavily than parking accuracy.
- Driving Test Checklist: What to Bring: Everything you need on test day, including vehicle requirements.
AUDrive provides practice routes near driving test centres across Australia, including streets commonly used for test manoeuvres. Visit audrive.net to find routes near your test centre.