Why This One Skill Decides Most Tests
Head checks and mirror use are the number one reason people fail their driving test in Australia. Not speed. Not parking. Not roundabouts. Observation.
In NSW, you're allowed a maximum of 2 head check errors. The third one fails you, no matter how well you drove otherwise. In Victoria, head checks are the single most common fail item. In Queensland, blind spot errors make up the largest chunk of all recorded test faults.
The technique itself is simple. The challenge is making it automatic so you don't forget it when you're nervous on test day.
Head Checks: What They Are and Why They Matter
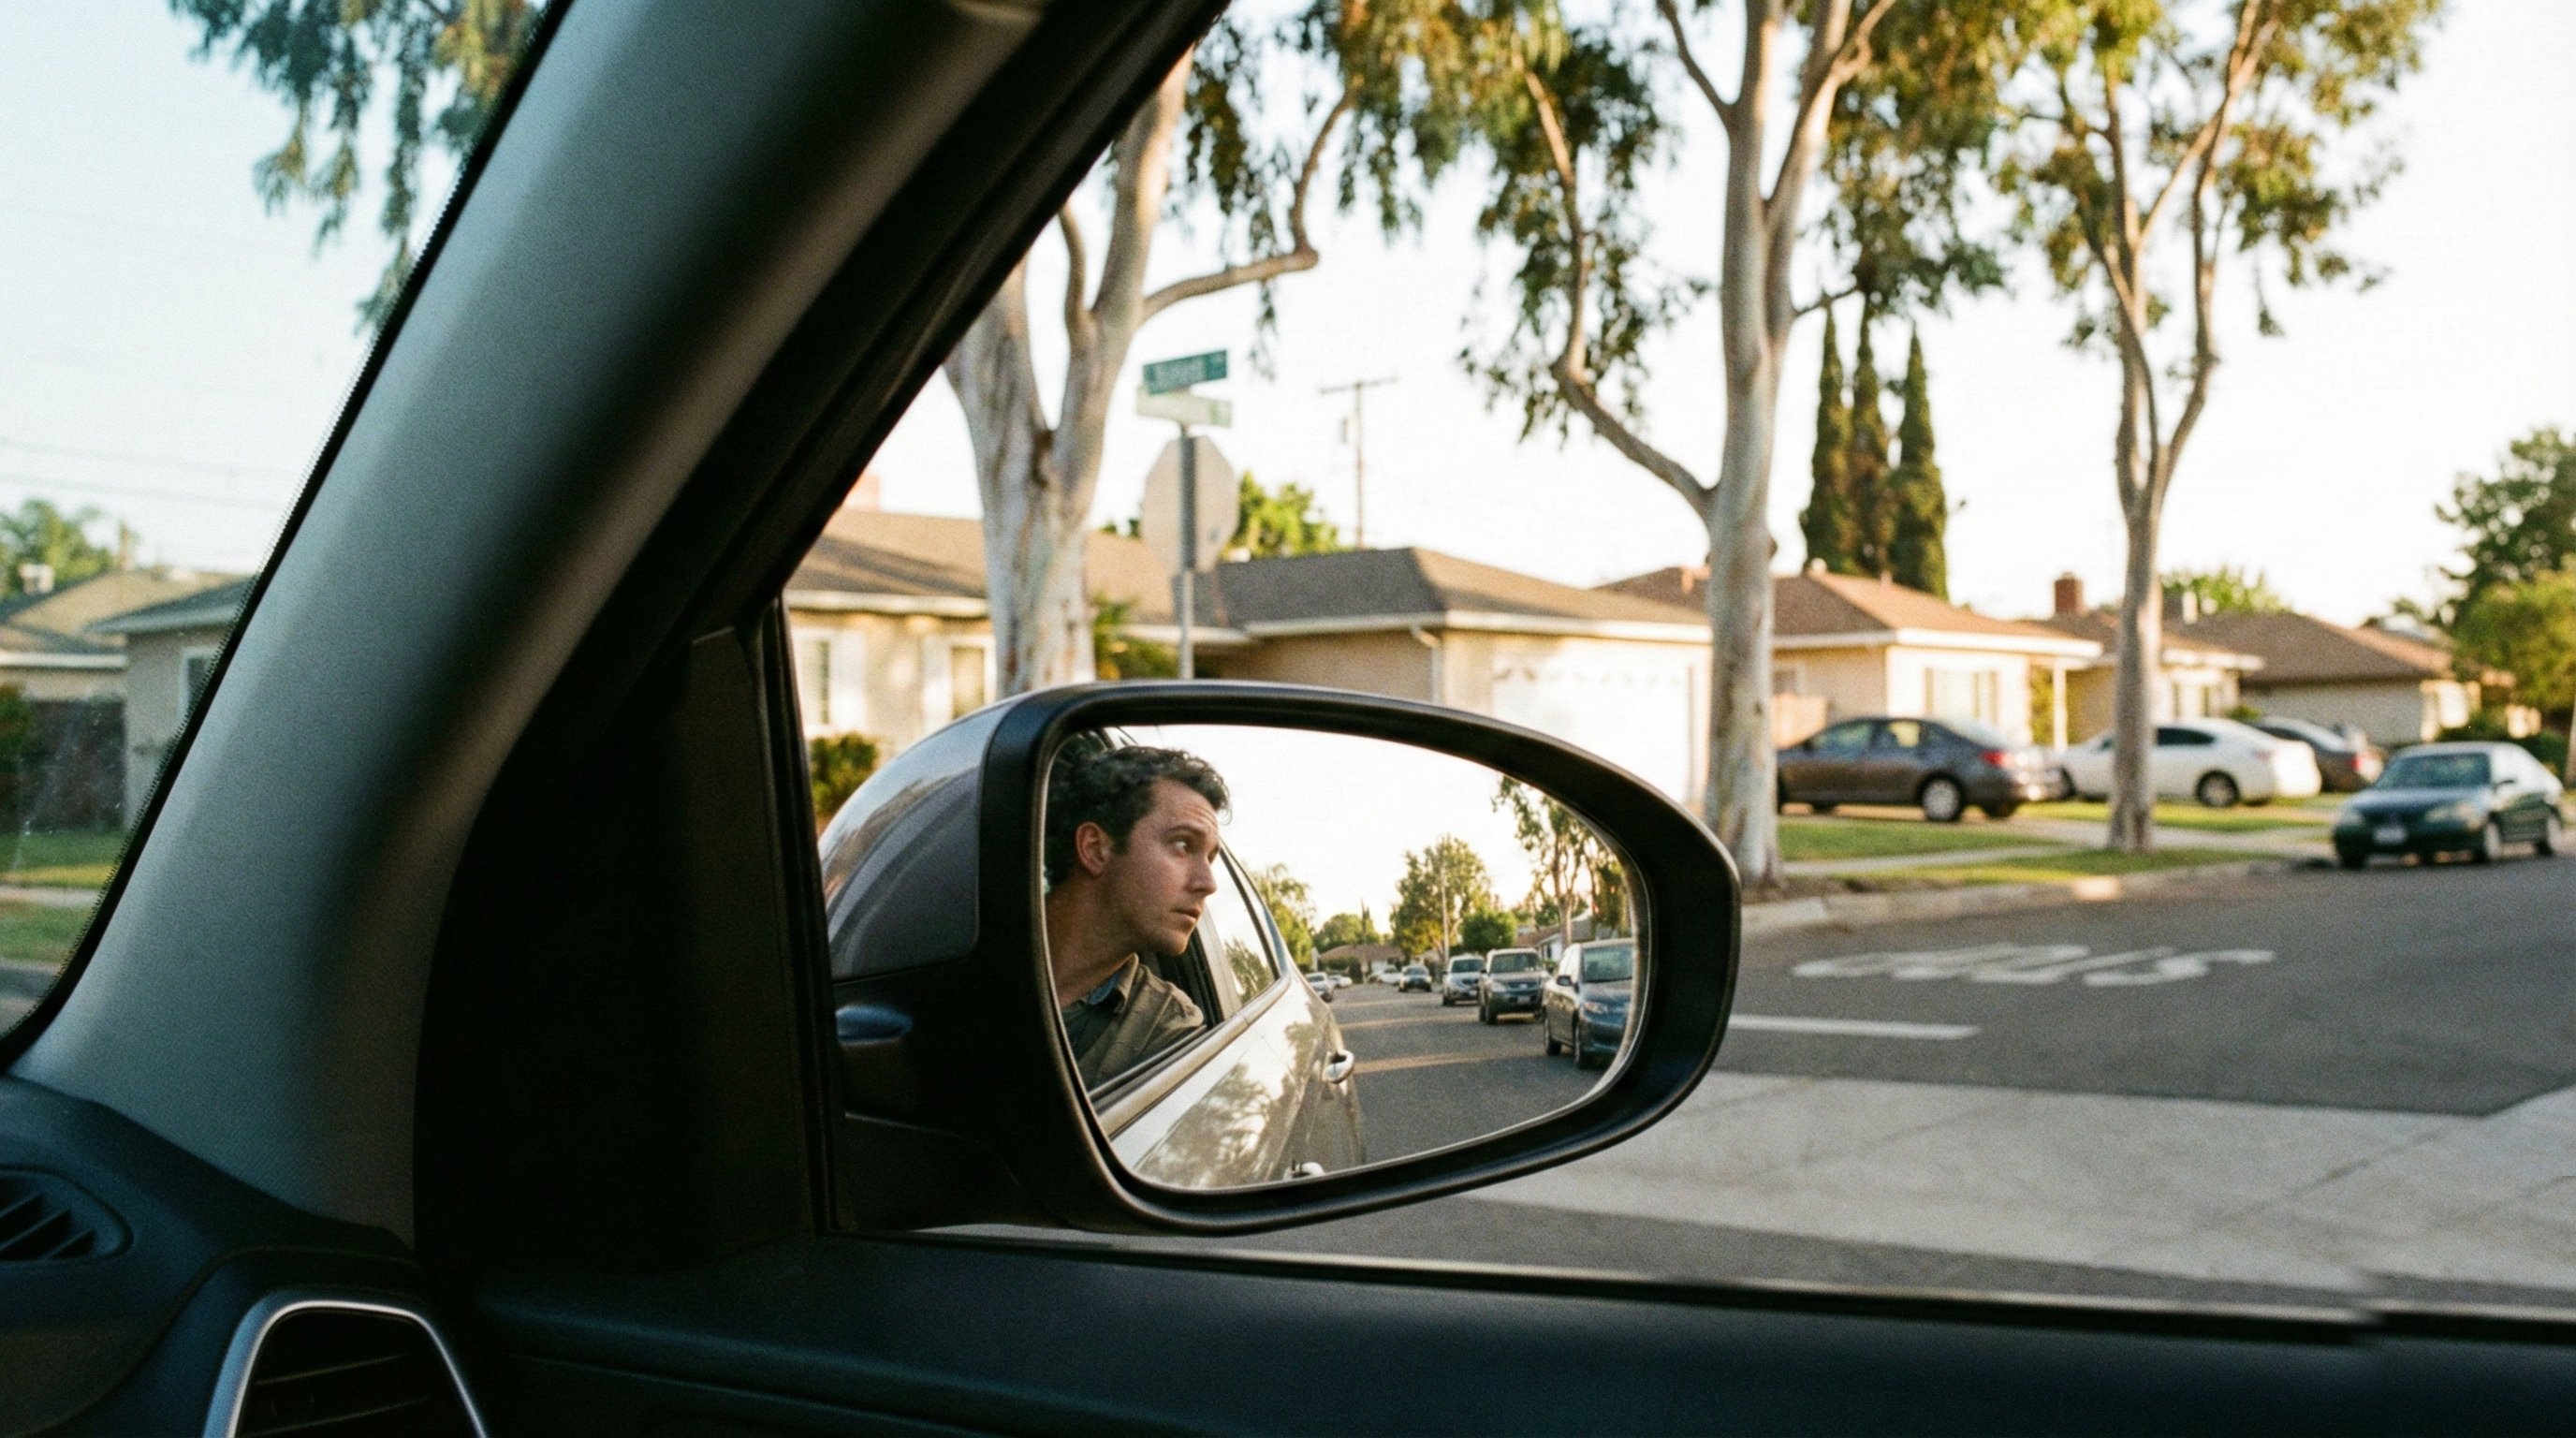
A head check (also called a shoulder check or blind spot check) is a quick turn of your head to look over your shoulder. It covers the area your mirrors can't see: the blind spot beside and slightly behind your car.
Every car has blind spots big enough to hide a motorcycle, a cyclist, or even a small car. In a country where motorcycles and bicycles share the road everywhere, a driver who only uses mirrors is a hazard. That's why examiners treat head checks as non-negotiable.
How to Do a Head Check Properly
- Keep your hands on the wheel. Only your head moves. Don't twist your body or shoulders.
- Turn your head about 90 degrees towards the side you need to check. Your chin should reach roughly above your shoulder.
- Glance for about one second. You're checking a specific zone, not sightseeing.
- Eyes back to the road straight away.
- React to what you see. Go if it's clear, wait if it's not.
The Golden Rule: Make It Obvious
The examiner is sitting in the passenger seat. They can't see your eyes. They can only see your head move. A subtle eye flick, no matter how effective, gets marked as "not performed."
Exaggerate the turn. Make your head movement unmistakable. If the examiner can see your chin rotate to your shoulder, you'll get the mark. If they can't tell you checked, you won't.
What Not to Do
- Don't turn your whole body. This pulls the steering wheel and you'll drift out of your lane.
- Don't look down. The blind spot is at window level, not at the floor.
- Don't skip it because you think the lane is clear. You check every time, regardless of what you think is there.
- Don't check too early. A head check 5 seconds before the manoeuvre is too early. It needs to be within 1-2 seconds of acting.
When You Need a Head Check
Here's the complete list. Every one of these situations requires a head check during your test:
| Situation | Which Side to Check |
|---|---|
| Moving off from the kerb | Right shoulder |
| Pulling over to the left | Left shoulder |
| Changing lanes left | Left shoulder |
| Changing lanes right | Right shoulder |
| Turning left at an intersection | Left shoulder |
| Turning right at an intersection | Right shoulder |
| Merging onto a freeway | Side you're merging from |
| Exiting a freeway | Left shoulder |
| U-turns | Both directions, plus again at each direction change |
| Three-point turns | Both directions at each stage |
| Reversing | Both shoulders, before and during |
Pro tip: When in doubt, check. You'll never lose marks for doing an extra head check. You will lose marks for missing one.
Watch: Head Checks Explained
This video from an Australian driving instructor covers exactly when and how to perform head checks for the NSW P1 test. The same principles apply in every state:
And this one from Driving School WA shows blind spot technique specifically for lane changes and merging, with real driving examples:
Mirror Technique
Your Three Mirrors
You have three mirrors and each one has a specific job:
- Interior (rear-view) mirror: Your main mirror. Shows traffic directly behind you. Gives a true image (not magnified or distorted).
- Left exterior mirror: Shows traffic on your left side and rear-left. Convex glass makes objects appear further away than they actually are.
- Right exterior mirror: Same as left, but for the right side.
Setting Up Your Mirrors
Adjust all three mirrors before you start the engine. Examiners notice if your mirrors are wrong:
- Interior mirror: You should be able to see the entire rear window. Adjust with your left hand so you don't shift your seating position.
- Exterior mirrors: You want a small sliver of your car visible on the inner edge (for reference), and the horizon roughly in the middle of the mirror.
The Scanning Cycle
Examiners don't just check whether you look in a mirror before turning. They watch whether you scan mirrors throughout the entire drive. The standard is a mirror glance every 8–10 seconds.
A good scanning pattern:
- Road ahead (most of your attention lives here)
- Interior mirror (quick glance)
- Road ahead
- Relevant exterior mirror (quick glance)
- Road ahead
- Repeat
The key word is "glance." Each mirror check should take less than a second. If you're staring at a mirror, you're not watching the road.
When to Check Which Mirror
| Situation | Which Mirror(s) |
|---|---|
| Before braking or slowing down | Interior |
| Before turning left | Interior → left exterior |
| Before turning right | Interior → right exterior |
| Before changing lanes | Interior → mirror on that side |
| After completing a turn | Interior |
| Approaching traffic lights | Interior |
| Passing parked cars | Left exterior |
| Someone is tailgating you | Interior (more frequently) |
| Before opening your door | Side mirror + head check |
Common Mirror Mistakes
These are the errors examiners see most often:
- Not checking often enough. Long gaps between mirror glances (more than 10 seconds).
- Staring at mirrors. A mirror check is a quick glance, not a long look.
- Forgetting the interior mirror entirely. Some learners only use side mirrors.
- Not checking before braking. You need to know what's behind you before you slow down.
- Checking the wrong mirror. Turning right but checking the left mirror.
Putting It All Together: Step-by-Step Examples
Left Turn at an Intersection
- Check interior mirror
- Check left exterior mirror
- Signal left (at least 30 metres or 5 seconds before the turn)
- Position your car towards the left of your lane
- Head check over your left shoulder (within 1–2 seconds of turning)
- Turn left
- Cancel indicator if it doesn't self-cancel
- Check interior mirror (resume scanning)
Right Turn at an Intersection
- Check interior mirror
- Check right exterior mirror
- Signal right (at least 30 metres or 5 seconds before)
- Position towards the centre line or right-turn lane
- Head check over your right shoulder (just before turning)
- Turn right when safe
- Cancel indicator
- Check interior mirror
Changing Lanes
- Check interior mirror
- Check side mirror on the side you're moving to
- Signal in the direction of the lane change
- Head check over the relevant shoulder
- Move into the lane smoothly
- Cancel indicator
- Check interior mirror
Moving Off from the Kerb
- Check interior mirror
- Check right exterior mirror
- Signal right
- Head check over right shoulder
- If clear, move off smoothly
- Cancel indicator once established in traffic
Building the Habit
Knowing the technique isn't enough. You need it to be automatic. Here's how to get there:
1. Verbalise your routine during practice drives. Say "mirror, signal, head check" out loud before every manoeuvre. It feels silly but it works. After a few weeks, the physical actions will happen without the words.
2. Ask your supervisor to call out missed checks. Have your parent or supervisor watch your head and call out every time you miss a check. You'll be surprised how many you're missing without realising it.
3. Start on quiet streets. Build the habit where there's less to think about. Once mirror scanning and head checks are automatic on empty streets, they'll carry over to busy roads.
4. Book at least one professional lesson. A qualified instructor knows exactly what examiners look for and can spot habits you've developed that your supervisor might miss. Even one or two sessions focused purely on observation can make a big difference.
5. Practise the test routes. Drive the roads near your test centre until they're familiar. When you're not stressed about navigation, you can focus entirely on your observation routine. AUDrive has GPS practice routes for test centres across Australia. Use them to rehearse until the roads feel second nature.
State-Specific Notes
- NSW: Mirror habits and head checks are the top two fail reasons. You're allowed a maximum of 2 head check errors. The 3rd is an automatic fail.
- VIC: Head checks are the number one fail item. The competency-based assessment requires consistent observation throughout the drive, not just before manoeuvres.
- QLD: Blind spot checks are the top fail reason, especially before lane changes and merging. Observation errors account for 36.5% of all recorded test faults.
- WA: Blind spot checks are heavily weighted in scoring, contributing to the low ~35% first-time pass rate.
- SA: General observation (mirrors, head checks, and intersection scanning combined) is the leading failure category. The SA government's hazard perception resources emphasise regular mirror scanning as a core skill.
Quick Reference
| Skill | What to Do | How Often |
|---|---|---|
| Interior mirror | Quick glance at rear traffic | Every 8–10 seconds |
| Exterior mirrors | Check the relevant side mirror | Before any direction or speed change |
| Head check | Turn head 90° to check blind spot | Before every lateral movement |
| Visibility | Make checks obvious to the examiner | Every single time |
The pattern is simple: mirrors constantly, head checks before every move, and make it all visible. Get that right and you've already beaten the most common reason people fail.
FAQ
When do you need to do head checks during a driving test? You need a head check before every lateral movement: moving off from the kerb, pulling over, changing lanes, turning at intersections, merging onto or exiting a freeway, U-turns, three-point turns, and reversing. When in doubt, check. You'll never lose marks for doing an extra head check, but you will fail for missing one.
Can you use blind spot mirrors on a driving test? Stick-on convex blind spot mirrors are generally allowed on your side mirrors during the test. However, you must still perform a proper head check (turning your head to look over your shoulder) every time. The mirrors can help you spot hazards, but the examiner needs to see the physical head turn. Relying on blind spot mirrors alone without turning your head will be marked as a missed check.
How often should you check your mirrors while driving? The standard is a mirror glance every 8 to 10 seconds during normal driving. You also need to check your interior mirror before braking, slowing down, or approaching traffic lights, and check the relevant side mirror before any turn or lane change. Each check should be a quick glance of less than one second.
What is the difference between a head check and a shoulder check? They are the same thing. A head check, shoulder check, and blind spot check all refer to the quick turn of your head (about 90 degrees) to look over your shoulder into your blind spot. Different states and instructors use different terms, but the technique is identical.
Why do examiners fail people for head checks even when the lane is clear? The examiner is assessing whether you have a safe driving habit, not whether the lane happened to be clear at that moment. Skipping a head check means you didn't verify it was safe before moving. Even if no one was there, the examiner has no way of knowing you checked. Make every head turn obvious so there's no ambiguity.
Related Guides
- Driving Test Checklist: What to Bring. Make sure you have everything on test day.
- Best Time to Book Your Driving Test. When to book for the best chance of passing.
- Converting an Overseas Licence in Australia. If you're converting from an overseas licence, head checks are the #1 fail reason.